How to Grow & Harvest Garlic
Garlic. It’s one of the most fragrant, flavorful and versatile items we cook with and is a great addition to any garden. I grew garlic for the first time a couple of years ago and was amazed at how much my 4 x 4 garden bed could produce. We had enough garlic to last the two of us for about a year from that single crop (and we use garlic a lot). I couldn’t believe how easy it was to grow…essentially a “set-it-and-forget-it” kind of planting.
A member of the Allium family, garlic is a close cousin to the onion, shallot, and leek among others. Garlic has a long growing season and is typically planted in autumn and isn’t harvested until mid-summer. (Best time to plant garlic is September - November.) Garlic begins to grow its roots after planting until the temperatures start to freeze. It then lays dormant throughout winter until the warmer temperatures of spring, when it begins to grow again.
Assorted Garlic
Types of Garlic
There are many types of garlic, but the two most common types are:
Hardneck
Softneck
Hardneck
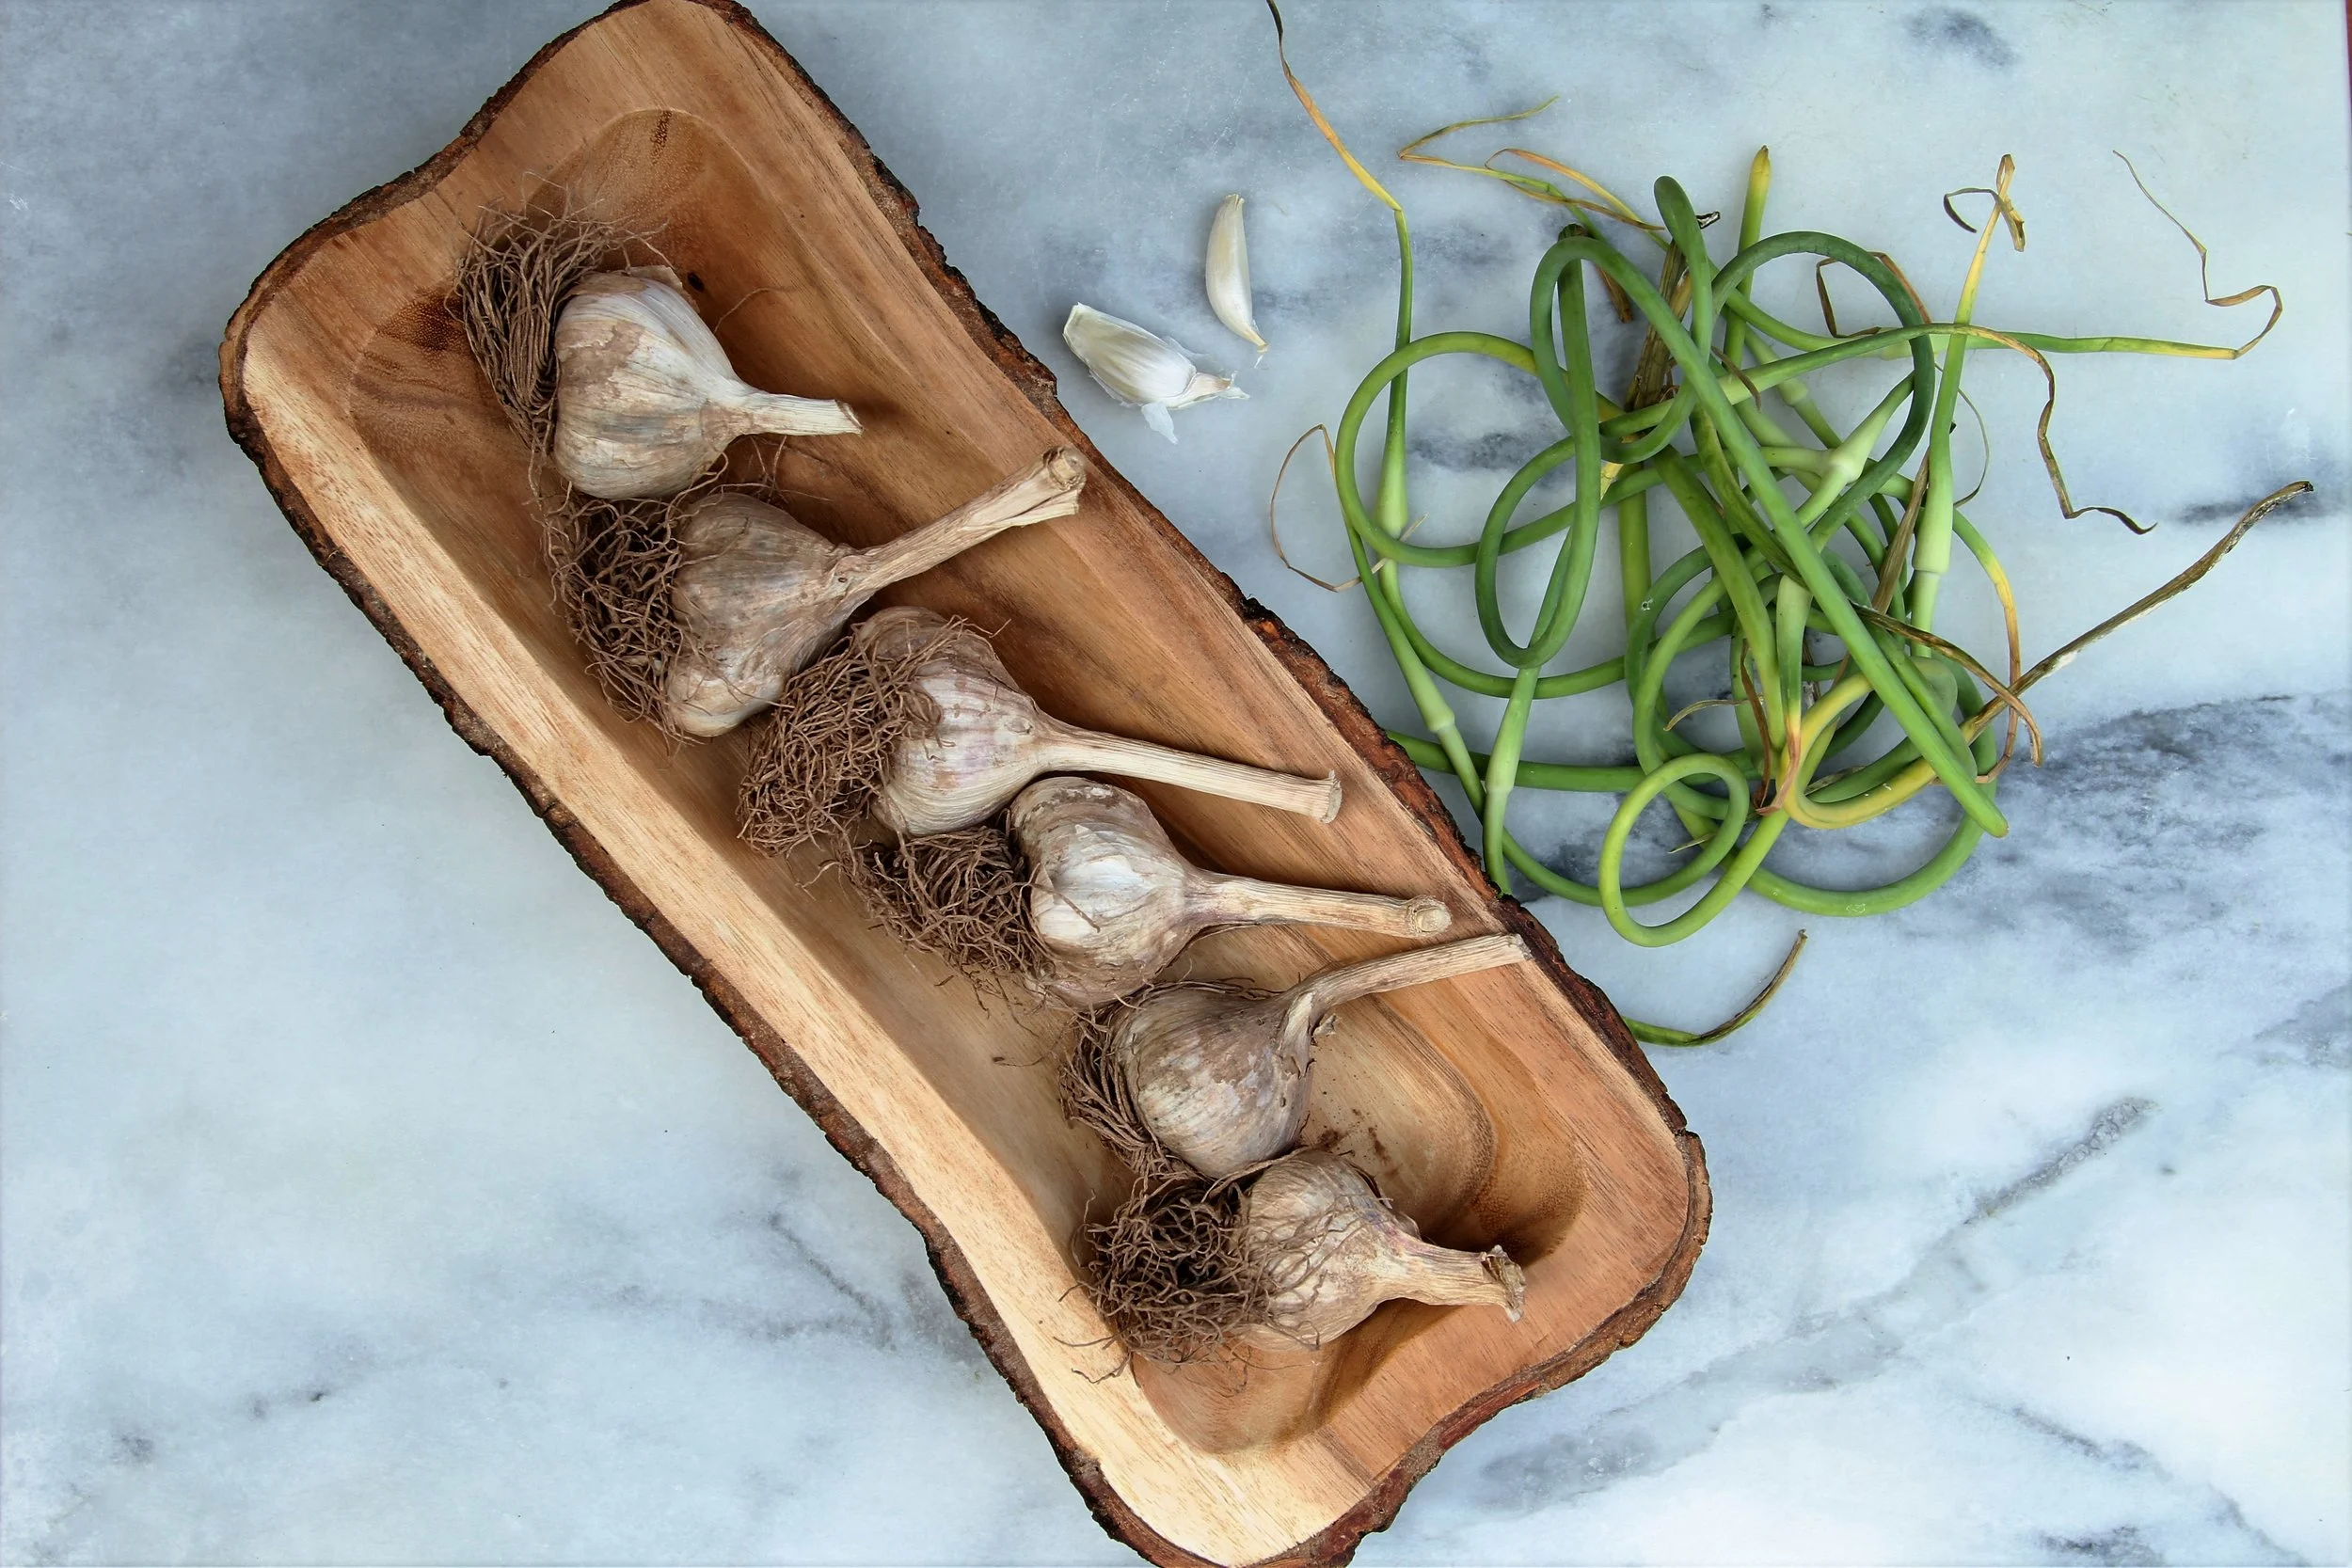
Hardneck garlic has a central hard stalk in the middle of the bulb around which the garlic cloves form in a fairly symmetrical pattern. Hardnecks tend to have a bolder flavor than softnecks (although that’s debatable) and have an extra culinary bonus as they yield “scapes.” Scapes are curly green stems that grow from the bulb and are capped by a smaller bulb that contains its flowers, called a “bulbil.” Scapes appear about a month or two before the garlic is ready to be harvested. If you grow hardneck garlic, harvest the scapes when they start to curl by cutting them as far down toward the base without cutting the leaves from the garlic bulb. Even if you don’t plan on eating the scapes, trimming them will allow all the energy to be directed to the main bulb to complete its growth.
Garlic Scapes
Softneck
Grocery stores tend to carry the softneck garlic variety because it has a longer shelf life. It can have anywhere from about 12-20 cloves of varying size, often overlapping. The papery layers tend to form upwards into the soft neck. Its flavor tends to be slightly milder than its hardneck cousin.
Hardneck garlic (left) and Softneck garlic (right)
How to Grow Garlic
Plant garlic from the cloves of the bulb. If you’re purchasing a bulb to plant, do not get it from a grocery store as it’s likely been treated to keep longer on the shelf. Get the bulbs from a reputable grower, nursery, or seed catalog. Garlic should be planted when soil and air temperatures are cooler. Although some gardeners plant in spring, in most northern climates, the ideal time to plant is in autumn (September - November). If you’re in a warmer climate and want to grow garlic, wait until your nights start getting consistently cooler, and try storing your garlic in a cool spot a few weeks ahead of planting to cause sprouting to begin.
Garlic clove plantings
Within 24 – 48 hours before planting, separate the cloves from the bulb carefully so you don’t damage them (do not peel the husk). If you separate them too far in advance, they may dry out. Pick the largest, best-looking, undamaged cloves for planting. Plant cloves in well-drained soil about 2 inches deep, 4 inches apart in rows 6 inches apart. Aim for a soil pH between 6.0-7.0. Place the cloves with the basal plate down into the soil (narrow tip pointing up) and cover with soil and compost.
I’ve seen varying recommendations for row spacing - sometimes up to 9-24 inches apart. I found 6 inches to be adequate for the small garden bed.
Hard-neck garlic (left) and soft-neck garlic (right)
Overwintering
Layer the soil in autumn with straw mulch, shredded leaves, or other organic clean cover for overwintering. This will help prevent too many weeds from forming and helps the soil retain moisture. Remove the cover in spring well after the threat of frost has passed and pull any weeds that may have formed. In spring, garlic shoots will begin to emerge.
Straw mulch
Harvesting Garlic
For fall planting, garlic should be ready to harvest the following July or August. When the lower leaves start to brown and wilt, but you’ve still got 5-6 green leaves, it’s likely time to pull the garlic. (Those leaves each represent a layer of the husk around the bulb.) Loosen the soil and gently remove the bulbs. Remove large clumps of dirt from the bulb, but there’s no need to heavily “clean” them, and do not remove the papery husk. The husk will help slow the process of sprouting and will help them keep longer in storage. Bulbs should be hung from the stems and dried for 4-6 weeks in a cool dry location.
I used a clothes-drying rack in my basement to dry the garlic (see photos below). It worked perfectly. As you can see from the photos, farms may hang them in the barn to dry but for urban gardeners, you can improvise with household materials.
When ready to store, trim the stems about 1 1/2- 2″ from the bulb. Store garlic in a dry (low humidity) location that maintains a temperature around 60-65 degrees Fahrenheit. Hardneck varieties should keep for about 5-6 months; Store softnecks for up to about 8 months.
I don’t have an area in my house where I can adequately control the temperature for storage, so I stored my garlic in the refrigerator. I constructed something out of a couple of paper bags that resembled a small shoe box with the top open. It wasn’t pretty but it worked.
My garlic harvest
Garlic stored at one of the farms I visited during the Tour de Farm NJ bike tour.
A simple clothes-drying rack can be used to dry garlic
The clothes-drying rack worked perfectly for drying garlic
This is an updated version of a post I wrote for Urban Gardeners Republic.


